vCenter 6.7 upgrade space calculation error.
Table of Contents
Synopsis
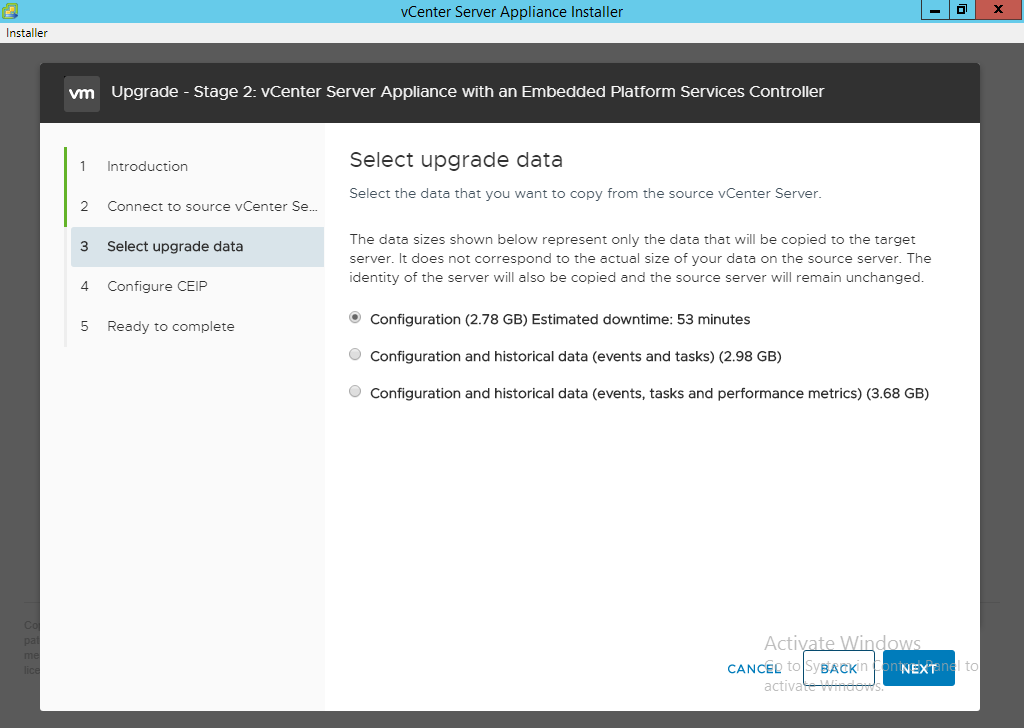
While using the vCenter Upgrade process to 6.7 Update 1b I ran into an issue where the space calculation results were incorrect in the upgrade interface. The GUI stated it would need 2.78GB but the actually capacity needed on the source appliance was much greater.
The Real Issue.
During the upgrade process it is natural to assume the space value of the ‘select upgrade data’ as a good estiamte and naturally you will ensure you have enough space on the root “/” partition. Root is important because that is where /var/tmp/ is located. In may case I had over 3.4GB available but the installer continued to fail during the process. So why wasn’t the 2.78GB fitting within the 3.4GB available?
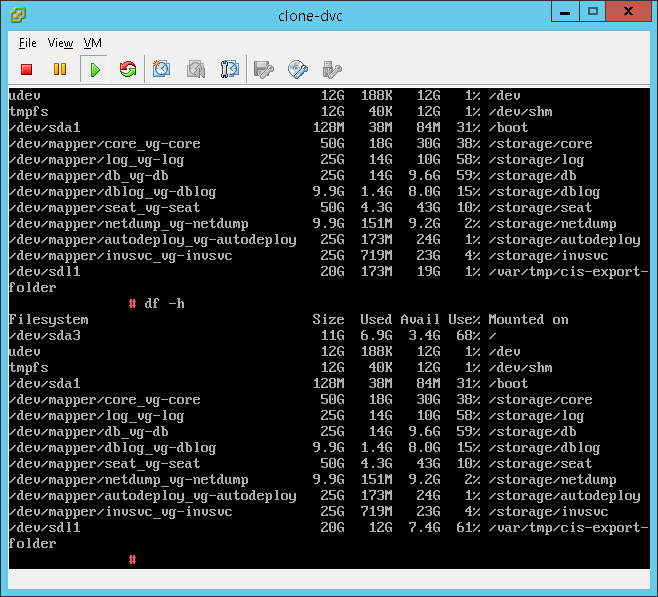
This was fun to chase down because the error.log file contained zero entries as to the source of the issue. However, each time I logged into the source appliance and did a df -h I consistently saw 100% disk utilization on the root drive.
Once I started to dig into the problem I noted that the actual size consumed was 12GB, not the 2.7GBGB as stated by the installer.
The Solution.
Unfortunately I could not expand the root “/” partition on the vAppliance that I was using because of limitations by VMware. However, as I watched the source appliance during the update I noted that it created a new director called /var/tmp/cis-export-folder where it stored the temporary data for the export. Even though we cannot expand the root partition we are able to present a new VMDK and then mount it as a directory within the appliance itself.
I opted to present a 20GB VMDK to the source appliance as I had the temporary space to spare and it would encompass all of the current known data size. If you run into this and have an extremely large dataset then you might require more space.
- Present a new VMDK to the source appliance, the larger your vCenter the larger this drive will need to be.
- Log into the source appliance via SSH.
- Run fdisk -l and look for the highest value for /dev/sd#, for mine this was /dev/sdl.
-
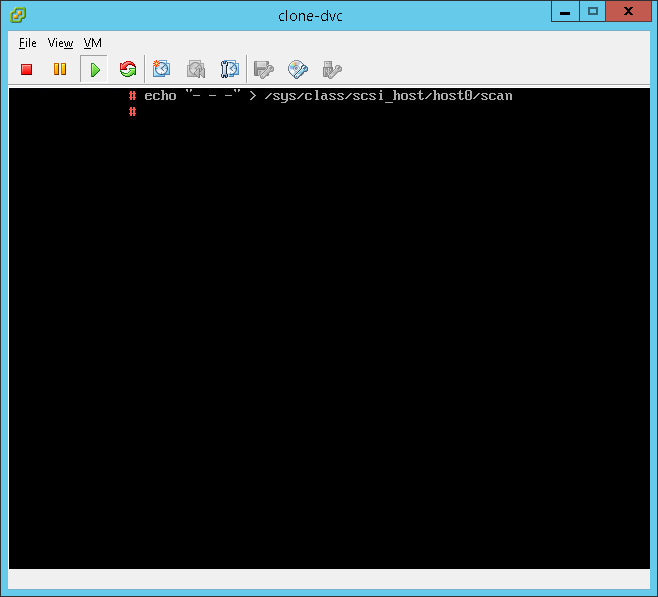
Rescan the local storage controller:
echo "- - -" > /sys/class/scsi_host/host0/scan -
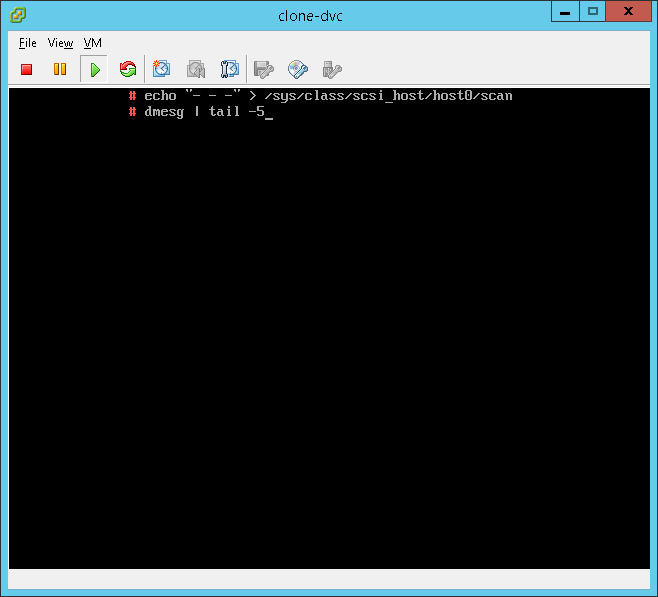
Now we will want to look at the end of dmesg to see how the new disk was seen by the SCSI controller:
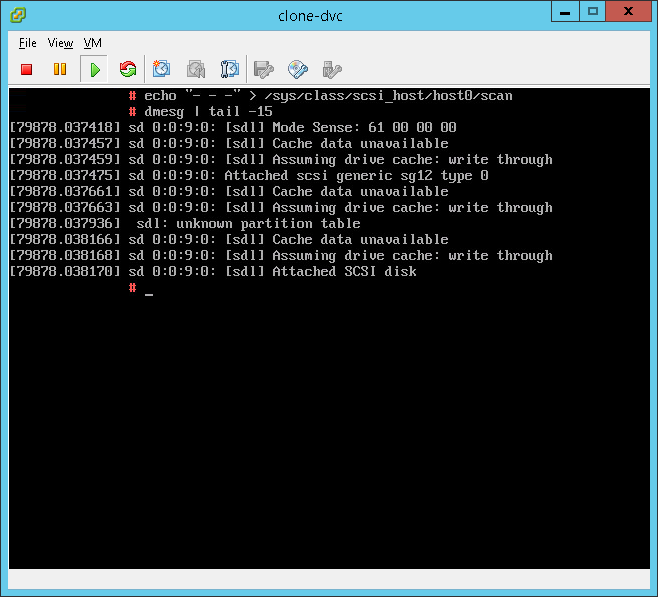
dmesg | tail -15The results should look similar to this and as we can see our disk was presented as [sdl].
DVC01:- # dmesg | tail -15 [ 79878.038418] sd 0:0:9:0: [sdl] Mode Sense: 61 00 00 00 [ 79878.037457] sd 0:0:9:0: [sdl] Cache data unavailable [ 79878.037459] sd 0:0:9:0: [sdl] Assuming drive cache: write through [ 79878.037475] sd 0:0:9:0: Attached scsi generic sg12 type 0 [ 79878.037661] sd 0:0:9:0: [sdl] Cache data unavailable [ 79878.037663] sd 0:0:9:0: [sdl] Assuming drive cache: write through [ 79878.037936] sdl: unknown partition table [ 79878.038166] sd 0:0:9:0: [sdl] Cache data unavailable [ 79878.038168] sd 0:0:9:0: [sdl] Assuming drive cache: write through [ 79878.038170] sd 0:0:9:0: [sdl] Attached SCSI disk -
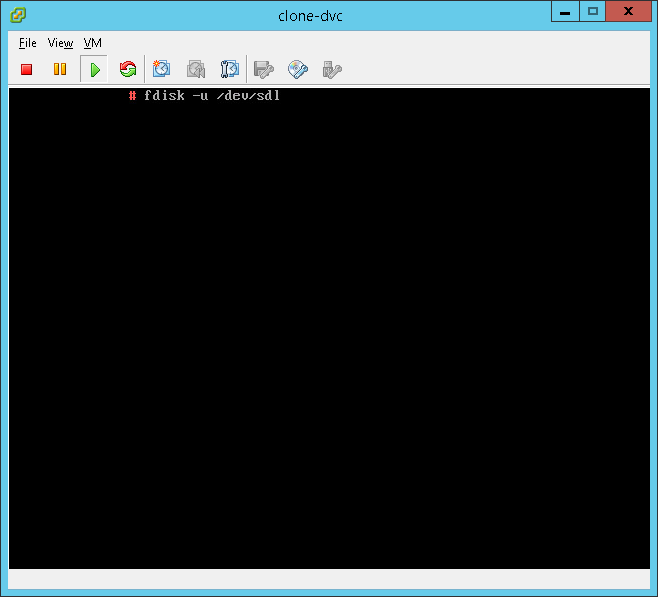
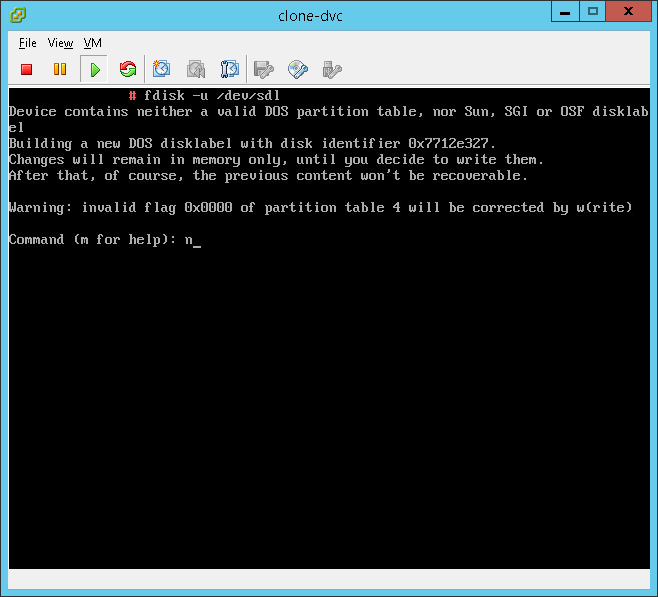
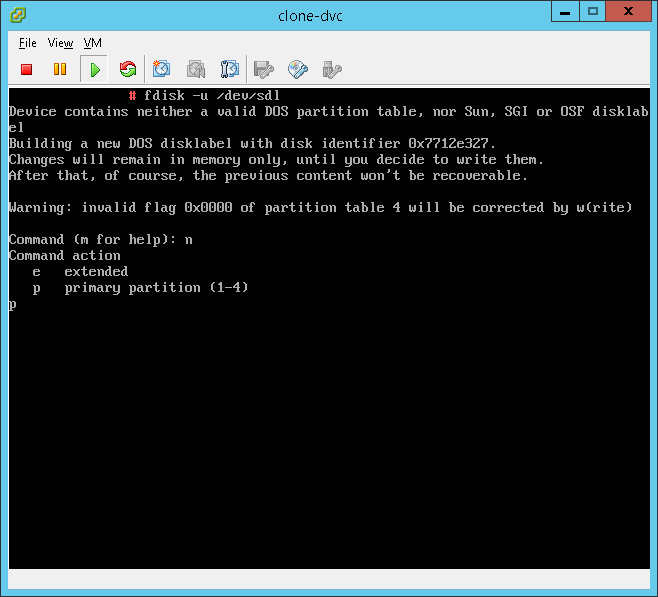
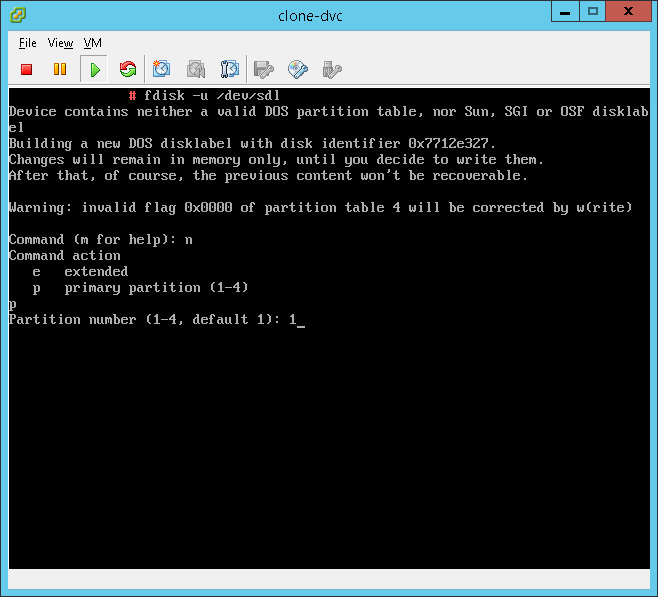
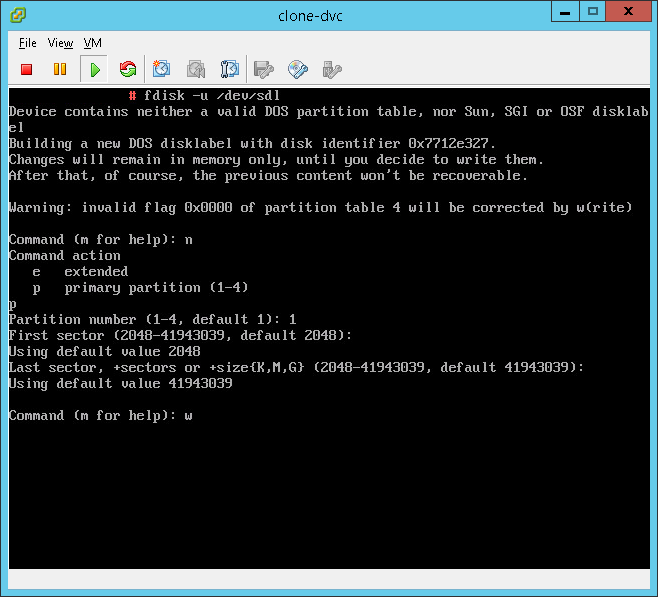
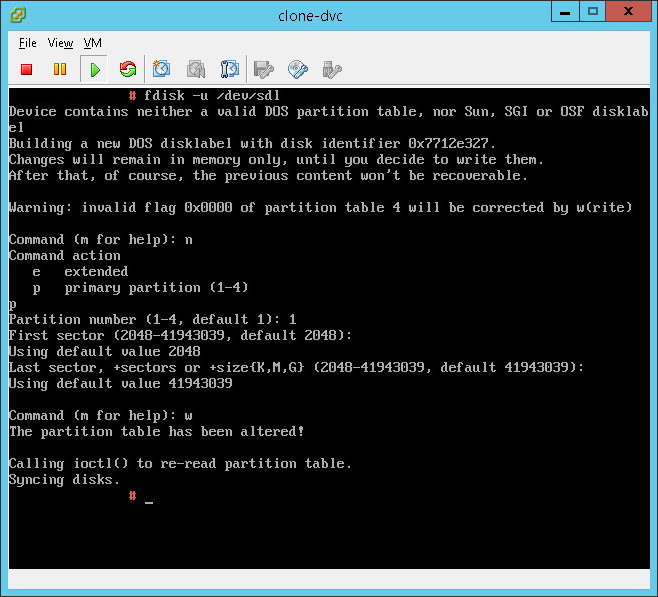
Now we need to configure the new disk using fdisk.
fdisk -u /dev/sdl - Now lets configure a new partition on the disk: Type n and press enter - Creates a new partition. Type p and press enter - Creates a primary partition. Type 1 and press enter - Creates the first partition. Press enter twice to keep the start and stop values. Type w and press enter - Exits fdisk and saves.
-
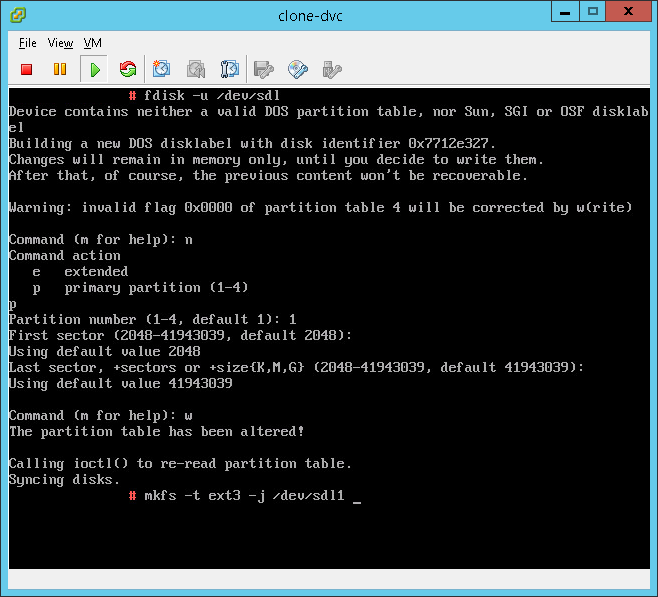
Next we need to mount the newly created partition.
mkfs -t ext3 -j /dev/sdl1 -
Next create the directory that we will be mounting this new disk into. It is important this exact directory is specified as this is where the upgrade process will store the temporary files.
mkdir /var/tmp/cis-export-folder -
Last we will mount the new disk into this directory.
mount -t ext3 /dev/sdl1 /var/tmp/cis-export-folder
More information about the above process can be found here: https://kb.vmware.com/s/article/2056449